Day Hiking Can Be Dangerous
The other day my husband and I were talking about all the crazy things we’ve seen on the trail lately. No hiking shoes, no map, no rain gear when there was a good chance of rain.
I have lost count of the times I’ve wanted to stop a kid on the trail doing something I would not want my child doing unsupervised. When I see them I think, where are your parents? This is slippery and your tennis shoes are soaked through, wait here for your parents before you cross. Or wondering why parents with 4 small children are scaling a strenuous hike that typically takes 7-8 hours without children, but I’m heading back and they are half way…
I’m getting queezy just thinking about it again.
There has been a massive uptick in search and rescues on trails, and not for backpackers but of families out day hiking. So, we’re not crazy.
Given what we’ve seen, we wanted to write a list of tips that we use to prepare for a safe, fun, and relaxing time on the trail with our family.
1 – Research the Trail in Advance
You’ve seen pictures of a trail with amazing vistas at the top and you want to take the family. Now that you’ve picked the trail it is time to do some research.
First, It’s really important to understand that humans are not creative in thinking of trail names. Between North Carolina and South Carolina I’ve lost count of the number of trails that have very similar sounding names. For example, Table Rock Trail, is across from Table Rock Mountain, which is nearby to Table Rock State Park. It’s like mad libs but with mountain trails. So you need to do the due diligence to make sure as you google a trail that you are looking at the correct information.
Once you’ve got that down, you’re next activity is to thoroughly research that trail and ask several questions:
- Where is the trail head and how long will it take to drive there?
- Is the trail head accessible year-round or is it seasonal?
- What is the difficulty rating of the trail? Hard, moderate, easy?
- Is the trail long? 1, 3, 5, 7 miles, or more?
- Is it one-way or a loop?
- Are there any major obstacles on the trail I should be aware of? For example, ladders, ropes, dangerous crossings.
- Where can I find the map?
A great starting place to answer all these questions is AllTrails.com, but I also search for other bloggers reviews, read National Park, National Forest, State Park Resources.
I know it feels like I’m stating the obvious but this first step is usually where it all starts to fall apart for a family once they’re on a trail and completely unprepared for it.
2 – Understand your and your Children’s Physical Limits
The goal is to not overcommit to a trail that is too difficult for you and your family to complete.
Take time to understand the difference between the trail difficulty, strenuous/hard, moderate and easy, as well as the mileage. The factors to consider in the difficult ratings include: the elevation gain, difficult/dangerous obstacles, and how those all combine with the length of the trail itself.
If taking little ones take into consideration:
- It will take longer to complete the trail (like an eternity longer).
- You will need to take more frequent breaks.
- You will need to pack more snacks/water/general supplies.
- You have to be fit enough to carry them if/when they need to nap.
If it’s the first time out, pick something easy to gauge what everyone can do.
For example, today we are comfortable taking our 3 year old on moderately difficult trails no more than 6 miles. Any more than that and we start to feel like we’re getting in over our heads. But we are aware of our physical ability to carry her, how far she can hike before needing help, and our overall pace on the trail to make it back in time. We got here by starting easy and working our way up.
3 – Bring Proper Hiking Attire
You don’t need to keep up with the Joneses when it comes to hiking gear, but it’s best to have some solid basic gear.
If you want to try to keep a budget, I would check out REI Outlet and Used Gear, Gear Trade, and also highly recommend checking out local sales on Facebook Marketplace.
When we started hiking the basics included:
Hiking shoes – We’ve seen people out in tennis shoes, boat shoes, flip flops….why flippy floppies?! It’s difficult enough hiking. If I’m being honest I know tennis shoes sound like a decent solution but I don’t like to wear them on the trail. The soles provide no traction, there is little to no ankle support, and they will soak through if you need to walk through a stream.
Day pack – I think it’s great to have comfortable day pack for carrying supplies despite the price tag. Day packs are designed to keep your back sweat free and keep the weight off your shoulders. They are much nicer than taking a normal backpack.
Proper Clothes – This varies depending on what weather you are expecting. If there’s a chance of rain, bring a rain coat or poncho. If the weather is cold early in the day but will warm up later, dress in layers that you can remove or add as you go. Also keep in mind cotton is not good for hiking unless it happens to be a hot and dry hike.
Water bottles or bladders – Definitely always want to have space for ample water available on the trail.
Hiking poles – Not required but great if you have bad joints, knees, ankles. Children like to be cool and not use poles, but I have no shame. I’m in my 30s and use poles all the time.
For toddlers –
- Hiking Shoes help out tremendously in their confidence to walk and not slip on the trail. Check out out our guide for toddler hiking shoes: The Best Toddler Hiking Shoes: Merrell’s Little Kid’s Trail Quest Jr.
- Water Bottle the toddler can easily drink from while in the carrier. My go to has been the kids 12 oz. stainless steel water bottles from camelbak. It’s pricey, but it’s the only sippy cup we use now. Easy to clean, goes in the dishwasher, no spills, and easy to get replacement parts.
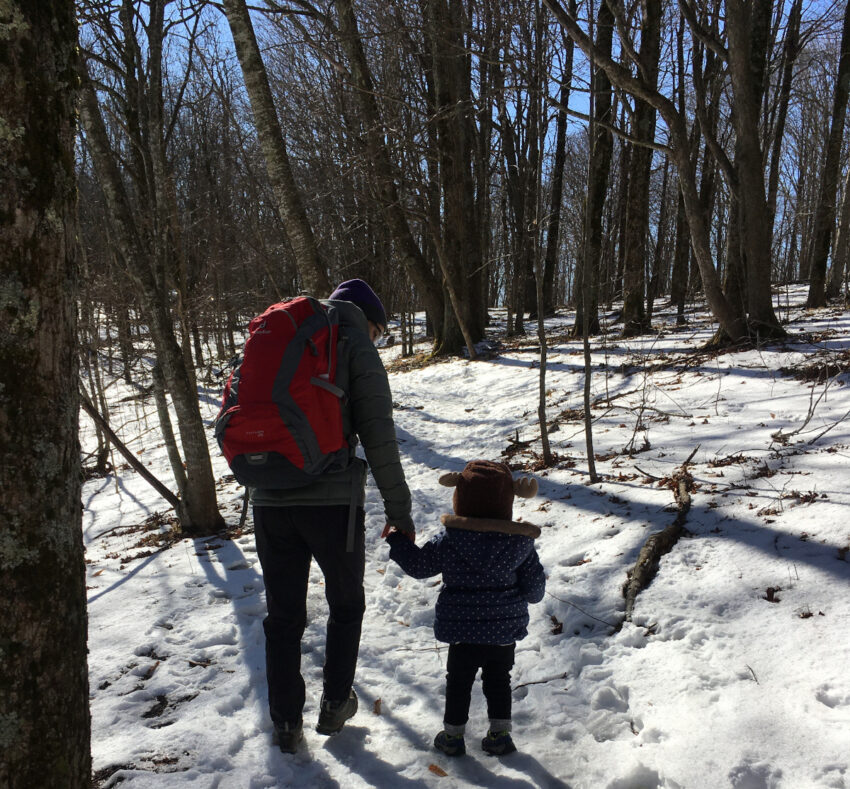
4 – Bring a Backpack Carrier for Little Ones
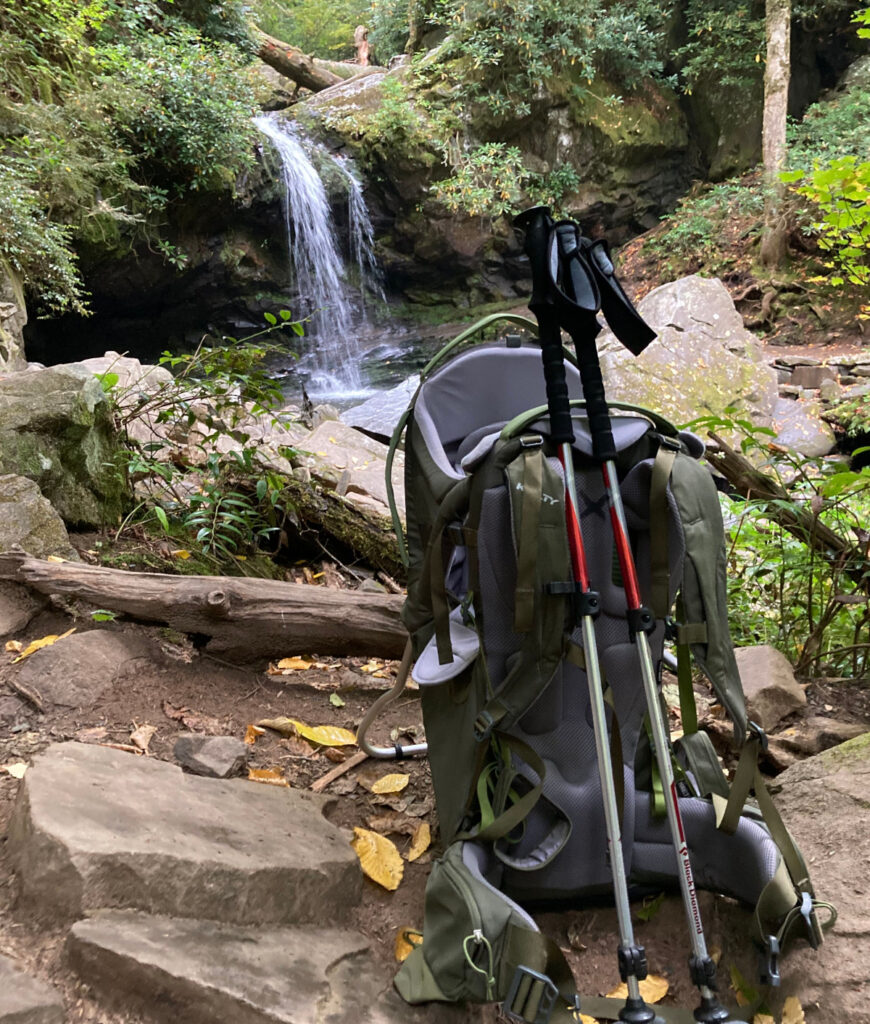
I think a lot of families underestimate how heavy it can get carrying a toddler or baby in a normal carrier on a hike. Having a proper hiking carrier definitely makes carrying a toddler easier, and also adds some storage space for supplies.
For recommendations on how to pick one, check out our guide: Picking a Toddler Backpack Carrier: Buying Used.
5 – “Mama I Need Pee” – Pack Extra Clothes for Accidents
Accidents happen in daycare and preschool, and they can happen on the trail. We always have an extra set of clothing, diapers, and diaper supplies in one of the packs.
And remember, carry out what you brought in. Need I say more?
6 – Review the Weather and Pack for the Worst
Always check what the weather will be like where the trail is located. It may be 50 degrees in Charlotte where we live, but it’s only 30 up in the mountains where we are going to hike. And if there are any extreme weather warnings (super hot, super cold, ice/snow, downpours), then prepare for the worst.
If there is a small chance of rain, have your rain gear. If it’s winter, have extra winter clothes, and for deserts pack extra water as well as gear to keep you cool and covered from the sun.
- In the fall – I will always pack extra winter clothing for our toddler: hat, gloves, pants, winter coat, extra fleece blanket to make sure if it’s colder than expected that she is covered.
- For rain emergencies – I have an adult poncho from REI that I can use to cover both her and the carrier. It’s worked out well so far.
7 – Pack Extra Food, Water, and Trash bags on the Trail + Have Extra in the Car
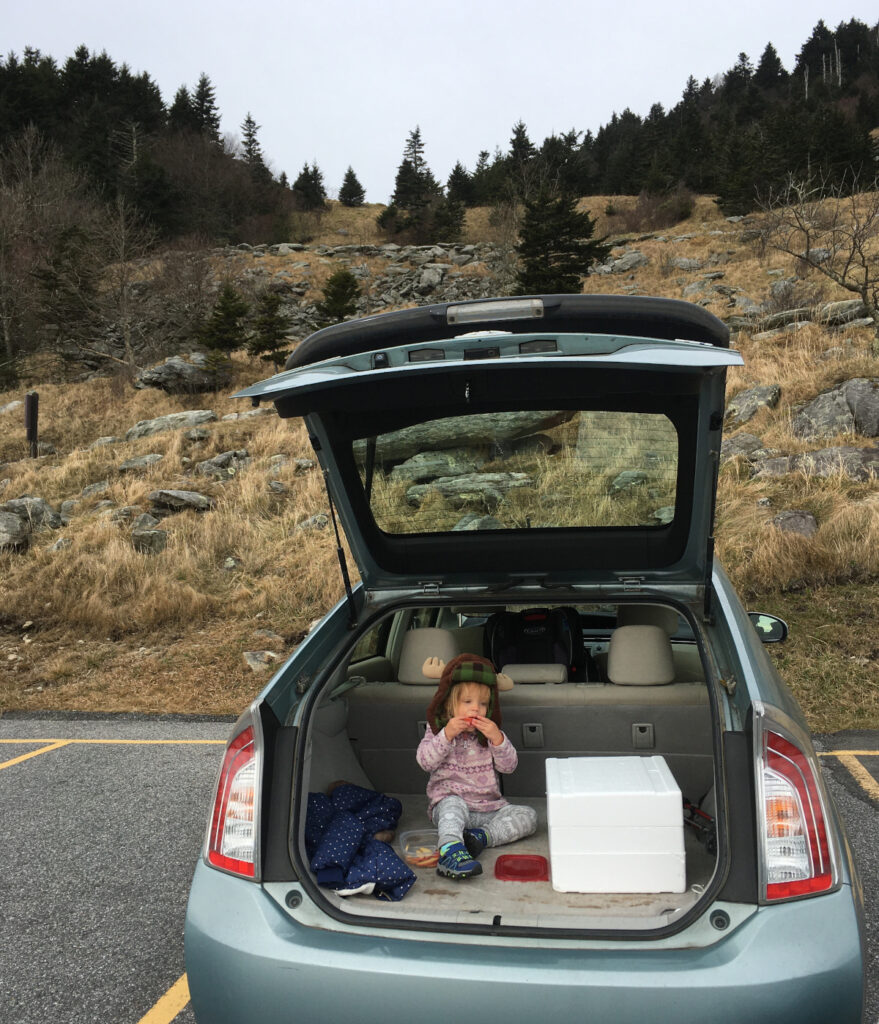
Not going to lie, my daypack is mostly full of food. We keep it healthy but don’t skimp on the quantity of anything: extra trail mix, extra fruit, extra sandwiches, water, extra everything.
To get food to the trail we keep a cooler full of food in the car and we pack enough so that we will still have plenty to eat once we’re off the trail.
We’re usually out on the trail during lunch and will stop for a picnic. When we get off the trail, we also will hang out at the car and eat some more! nom nom nom nom
8 – Pack and Track Yourself on a Map + Bring a Compass
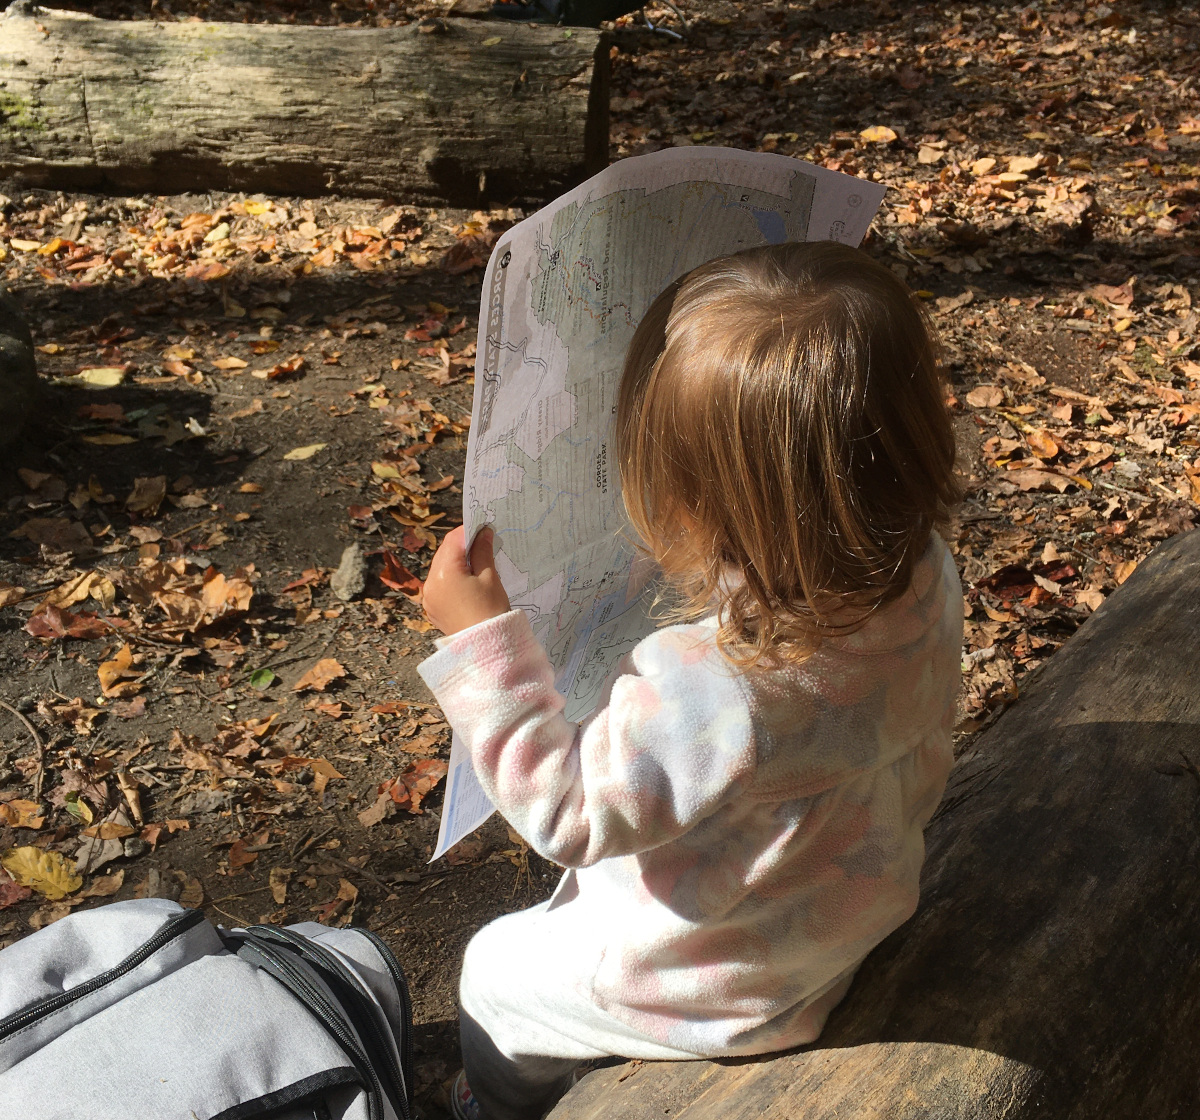
Packing a map and compass is good but not enough.
Do the homework to study the trail on the map so you can recognize trail junctions, know where you should turn, what direction you should be heading vs what direction you are heading.
Sometimes it will feel like overkill, but we like to use those opportunities to practice skills.
9 – Pack an Emergency Med Kit
I’m also guilty of not packing a med kit…and that makes me super dumb. Accidents can happen at any time.
If you want to get one that is lightweight and convenient to have in day pack check out our link on budget gifts.
A lot of hikers have guides out there on how to build your own hiking med kit if you want to save money. Check out some blog posts that I thought were super helpful:
https://www.myopencountry.com/backpacking-first-aid-kit/
https://www.advnture.com/how-to/build-your-own-first-aid-kit-for-camping-and-hiking
10- Learn to Recognize Poison Ivy, Oak, and Sumac
Poison Ivy is misssssserable to get, and even more miserable if your children get it.
Do you know the rule? “Three Leaves, Let it Be”
Check out this health guide for a complete guide to recognition and treatment.
11 – Know what Wildlife to Expect
You don’t want to be unprepared or surprised by things like bears, rattlesnakes, or mountain lions. Always do research about potential wildlife and the best way to handle any interactions. There are slightly different recommendations for handle encounters with Black bears vs Grizzlies. Some National Parks recommend carrying bear spray, others do not.
My go-to for research is to check the National Parks, Forest, and State Park websites for expectations, recommendations, and move out from there.
12 – Let Someone Know Where You’re Going and When to Expect You Back
Lasssstt thing, let someone know where you’re going, and what time to expect you back. There’s no reason to skimp on details here.
I send our contact person details on:
- The name of the trail head.
- The gps of the trail head.
- The closest town to the trail head.
- When we’ll be back in contact (i.e. your cellphone is probably not going to work)